3 Great Ways To Style Your Artist or Handmade Brand and Show Off Your Work
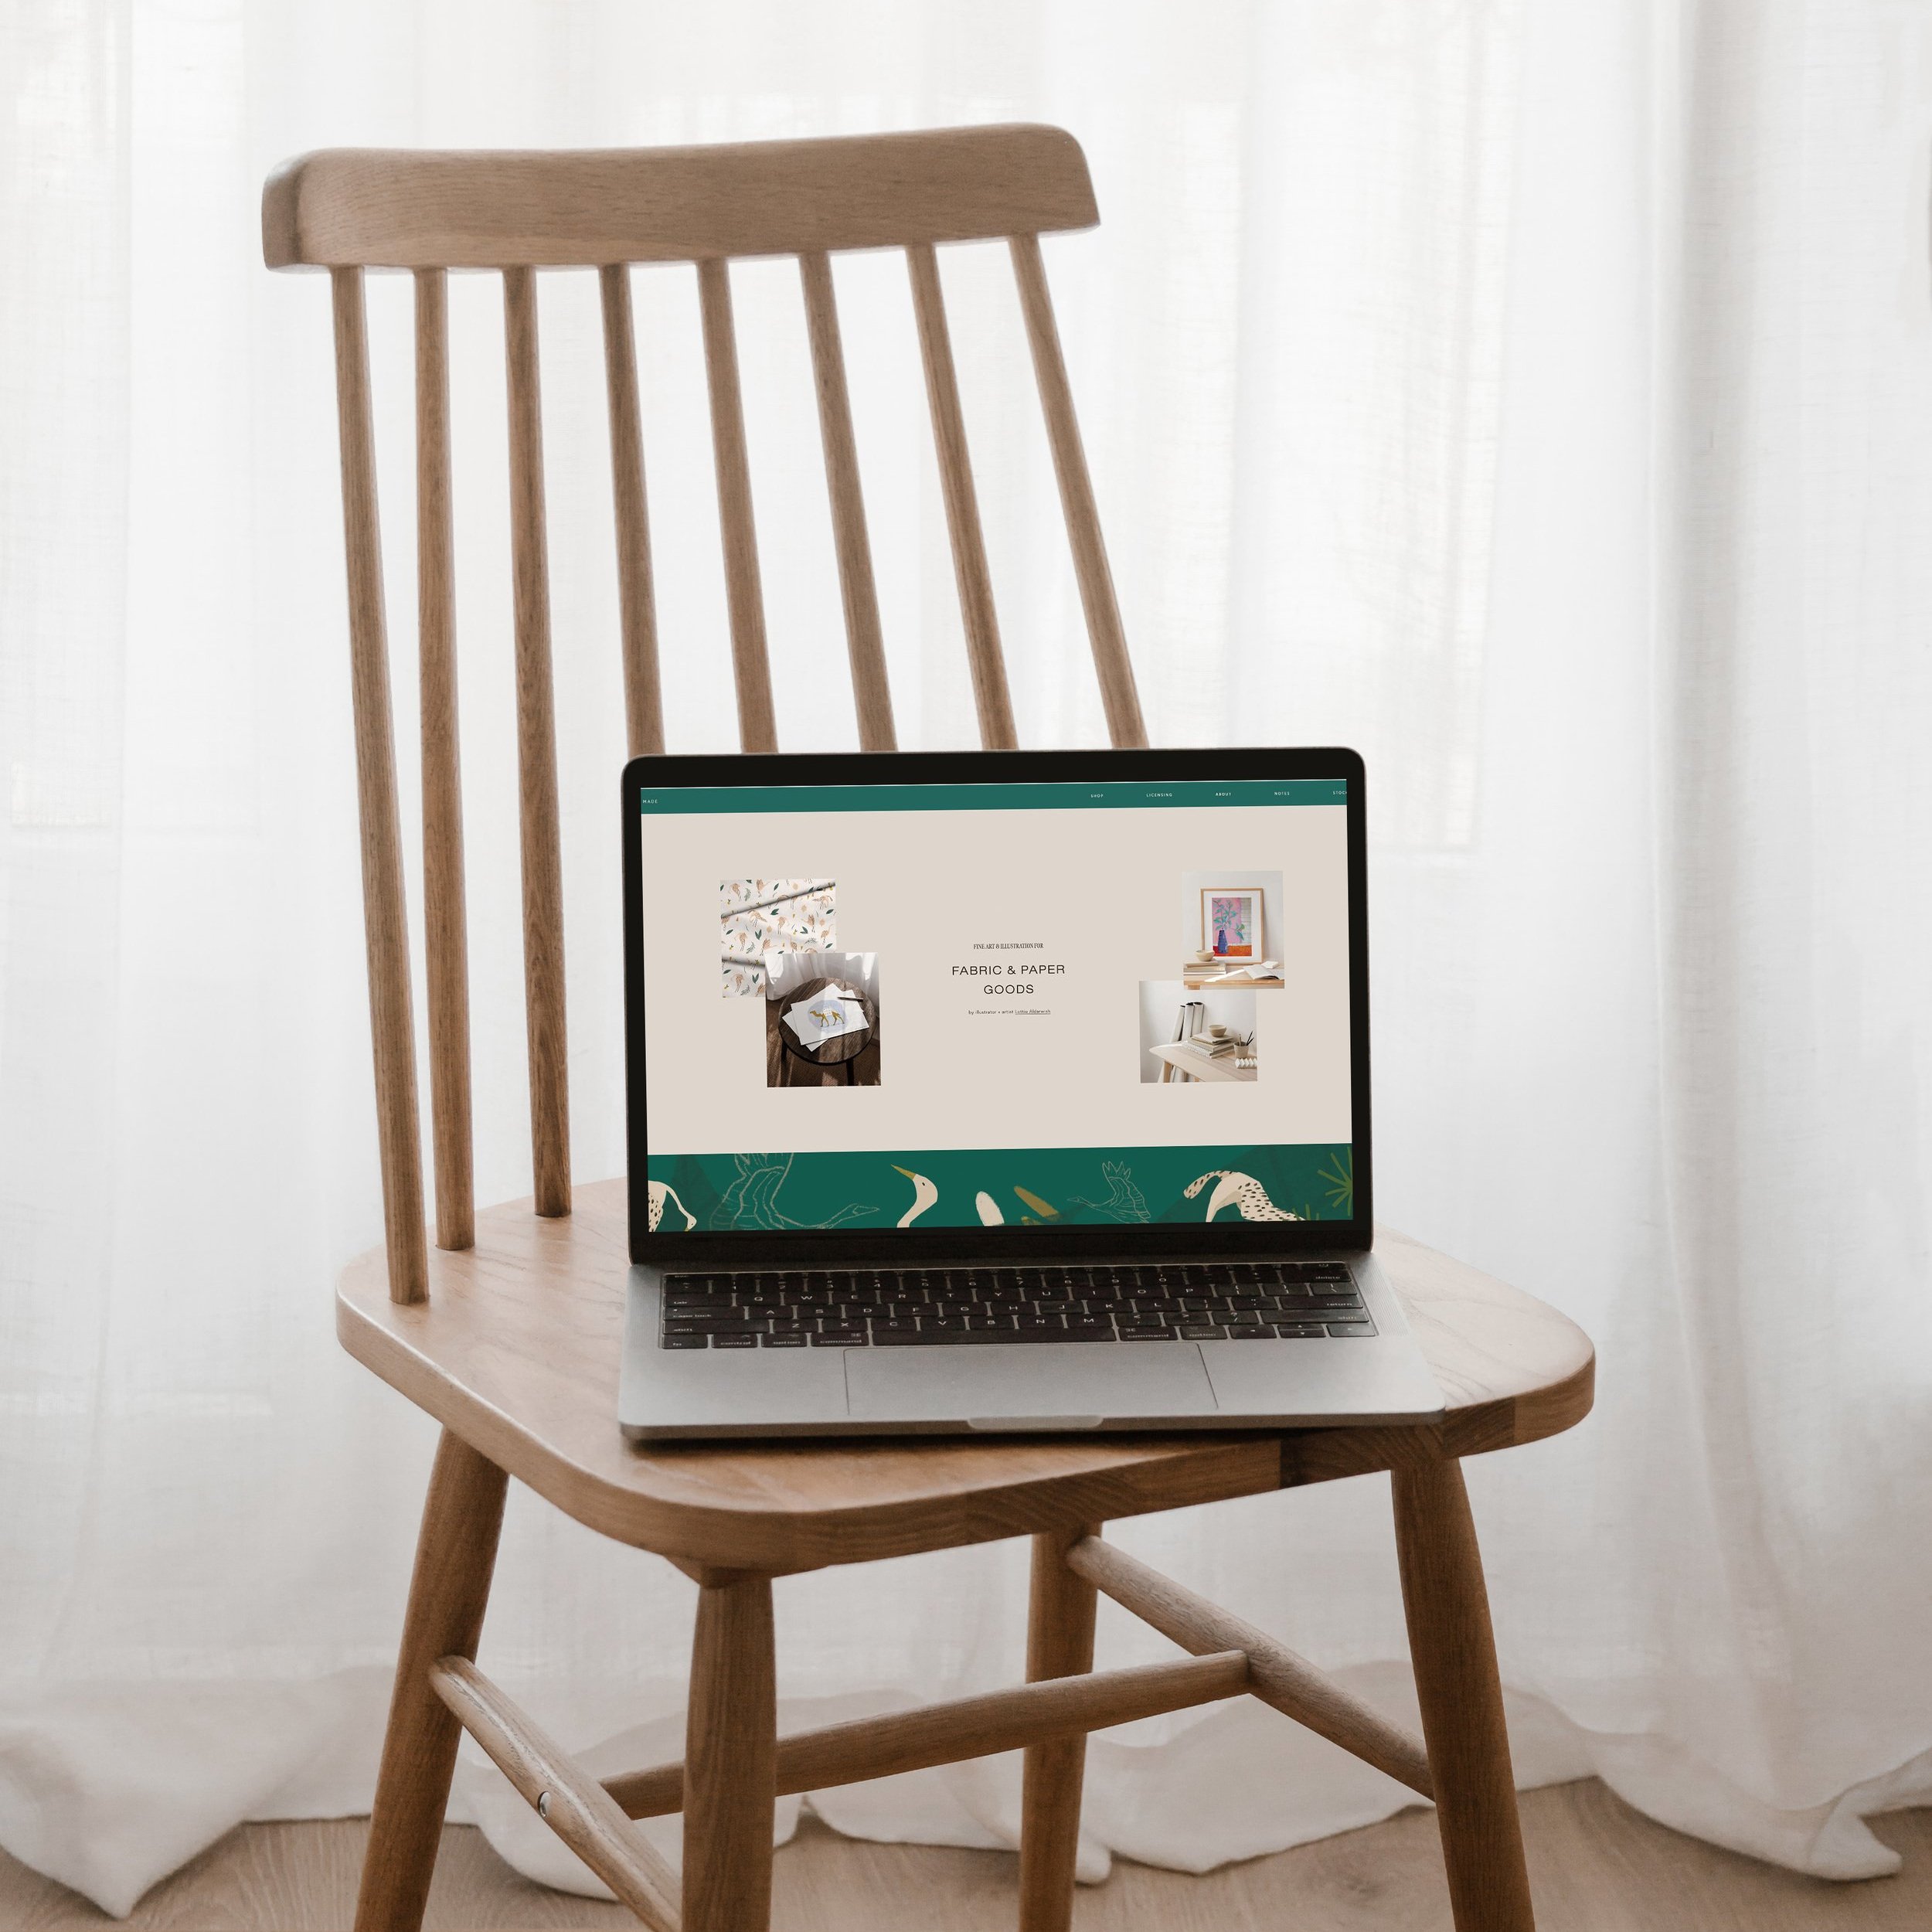
I believe branding for artists & makers should be like the walls in a museum… carefully designed to let the art take center stage.
The unique challenge in branding for artists
Before moving to Canada, we lived in the bike-filled Amsterdam in the tiny Kingdom of The Netherlands. It’s a beautiful city but never the safest environment for my youngest kid Mishael, who seemed to thrive on running off.
And so, for no other appeal than having guards at all exits, my kids grew up going to museums all the time.
Now this might sound crazy, but after countless visits hanging out with my man Van Gogh and bud Rembrandt, the initial wow of the art passed.
Instead, I started to notice how every inch of the museums were beautifully AND carefully designed to get the most out of the art.
More specifically, as the Zimmerman Art Gallery puts it:
Whatever wall color a gallery may select, the key aim should always be to create an environment in which the art works, and not the walls, take center stage.
And it struck me that branding for artists requires the same approach.
Brand pieces like the logo, colors and fonts need to be carefully and beautifully designed to allow the art to take center stage.
3 things to consider when styling an artist brand
The more I researched and used my illustration & freelance work as my lab, I realized that artist brands require a very specific approach.
When I work on corporate branding or packaging, I have a research-first approach. Meaning, I’ll start by looking at industry trends. Then try to get to know the target customer and understand how the product’s pricing fits into the market.
There’s method. Analysis. Customer profiling. Or, as my dad would say in a terrible imitation of a New York accent: “the woiks”.
But I find this research-based approach doesn’t fit artist brands.
Instead, I’ll now look at 3 things specifically:
-
the colors the artist or maker uses in their work;
-
the artist’s face and complexion;
-
their studio space.
Before you send me that questioning-cat-raising-eyebrows GIF, hear me out.
No. 1 - The colors
As artists, we strive to get to a place where we have a look, or style, that makes our work instantly recognizable. I believe a big part of style relies on the colors that we consistently use.
Here’s what I mean…

Betsey Ian Studio
Artist Betsey combines paints and embroidery in a variety of bright teals, pinks, lime, greens and blues to create her distinctive bold and whimsical style.

Llinella Studio
Artist Maja uses muted greens, pinks, oranges and blues in her pieces to create her signature magical style.

Jeah Design
Illustrator, letterer and surface designer Jenni uses gouache and combines muted colors with bright ones, like this sky blue and bold coral red, to create her distinctive look.
Three completely different color combinations, each working together to create the artist’s signature style.
No. 2 - The face
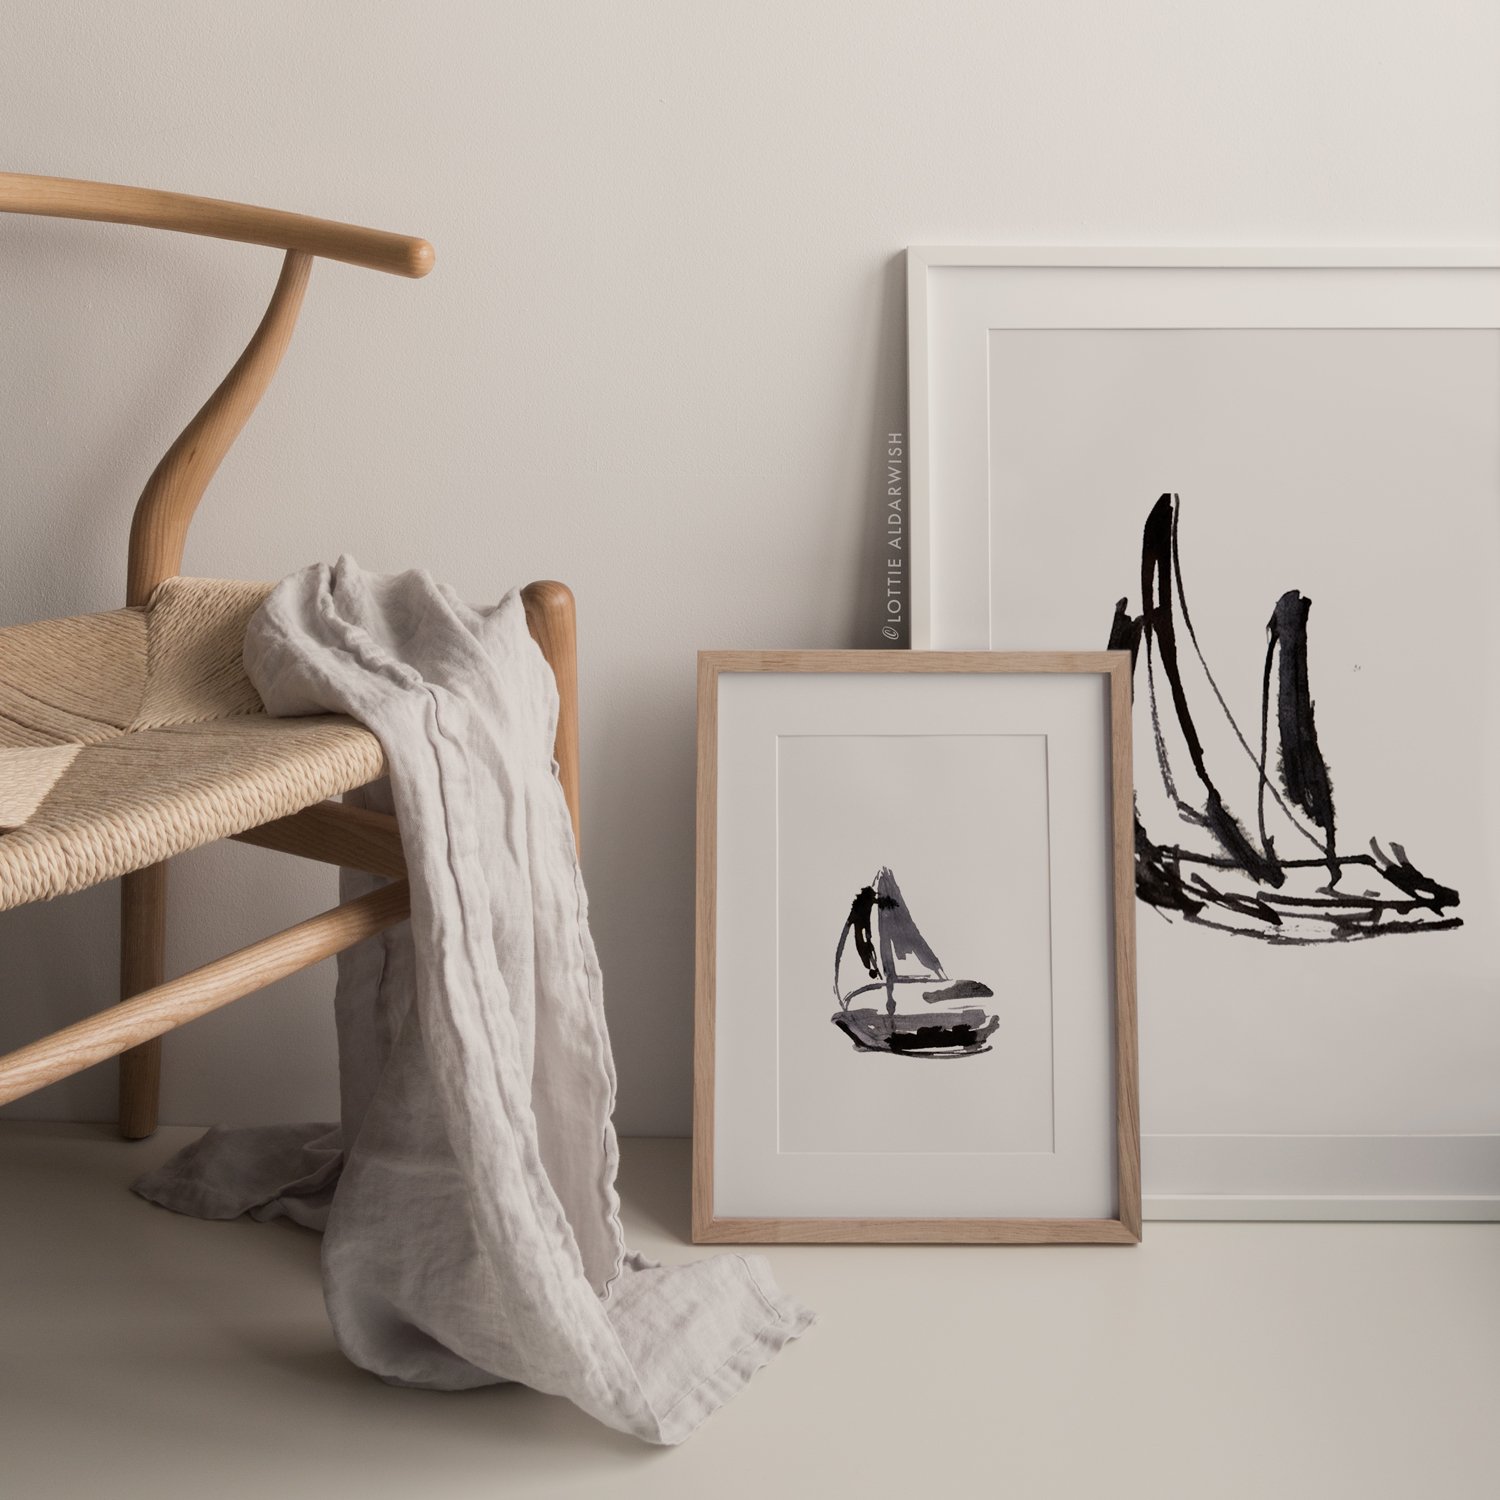
It took me an embarrassingly long time to realize that my illustration brand needed to be built around what worked for my face and not a look that was fashionable or looked great on other people.
This truth hit me after I reworked photos tirelessly to create a Kinfolk-inspired, bright and airy, Scandi photo style I so love.
But what worked for tanned, blond women never worked for me with my super white, English skin and freckled face.
I know. Total shocker!
But it wasn’t until I used warm colors in photos that I realized my approach to creating a branded look in my photos had been completely wrong!
I didn’t need fashionable, I needed the glow of orange, not more white.
So, I adapted all the colors on my website to suit my face.
I went from using colors like mint and greens that I adore to using browns, soft pinks and mustard in my branding. While those aren’t colors I necessarily go wild over, they work for my face and so I’ve made them part of my brand.
My sun-rejecting skin has thanked me for this move.
It’s not always easy or comfortable to be the face of the brand, but it is a reality. Buyers become more invested when they feel that connection to the person who’s hands have produced their piece.
Which is EXACTLY why artists need to show themselves. And turning up becomes infinitely more enjoyable when they have branding that makes them look amazing.
No. 3 - The space
The third, and final part I see to this branding puzzle for artists, is the studio.
Most buyers likely love seeing where their pieces get crafted so your studio makes a great way to connect with potential clients.
As a bonus, sharing a little about your space also works well for finding your community of artists. You know, all that geeking out over paints (Windsor & Newton gouache, anyone?) tech and process has to happen somehow!
Because connections make the behind-the-scenes stuff so powerful and textures give your content “life, bringing vividness, warmth and beauty” according to Canva, the two are a perfect match.
Here are some easy ways you can include the textures found in your studio for your branding and content:
1- add your textures to your brand mood board
I’m a great believer in using what you have, so take a look around and notice the textures, colors and paint splashes you love and jot these down. In other words:
-
If your workspace is a canvas cloth over your dining table note the linen texture.
-
If you have a vintage leather couch, mark it down.
-
If you use a room in your turn-of-the-century home (lucky you!) note dark brown wood.
-
If you’re in an industrial building, note raw materials like metals and concrete.

2- use these textures to inspire
Next, you can add these textures to your brand mood board. Mood boards are a great way to guide the vision for your brand and share with your designer. This is something I find important when I work with clients so if you work with me on your branding we’ll get that covered!
3- ways you can add these
Then, as you work on your content, you can find ways to incorporate these textures so it will feel like EVEN your behind-the-scenes are well-thought out.
-
Use photos of your textures as backgrounds for text-based sections on your website, like quotes or reviews. Not a photographer? I like using Moyo Stock* for high quality textures and photos. Alternatively, Unsplash is a great free resource as well.
-
When you send emails through an email provider like Flodesk* you can use visual layouts and include a texture photo with any existing behind-the-scenes photo you took for Instagram.
So there you have it. The three things that make or break an artist brand!
* Affiliate link